HOW TO GET RID OF THE PESKY ‘STARTUP DISK FULL’ MESSAGE (AND HIDDEN FILES) IN OS X
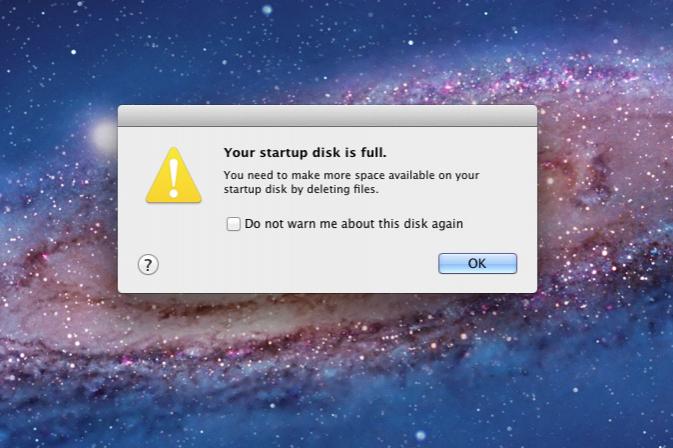
So there you were, minding your own business working on a project or just surfing the Web on your Mac, when, out of nowhere, you get a pop-up message saying that your startup disk is full. You’re trying to remember off the top of your head how much free space your computer has, but you really have no idea.
There are a couple of instances when you might get this message, one of which is pretty simple and just requires you to free up some space on your hard drive, and the other is when your Mac reports plenty of space left, but there actually isn’t, requiring you to dig a little deeper to find those hidden files that are taking up so much hard drive space.
Find out how much hard drive space you have
 First of all, you can see how much hard drive space you have available by opening a Finder window, right-clicking on “Macintosh HD” in the left-hand sidebar, and clicking on “Get Info.” This will tell you how much space your hard drive has left, as well as how much space you’re using.
You can also navigate to “About This Mac” by clicking the Apple logo in the top-left of your screen. From there, click on “More Info…” and then the “Storage” tab. This will give you a more comprehensive look at what exactly is taking up space on your hard drive, separated into categories, such as movies, music, apps, backups, and so on.
There’s also the “Other” category, which is a mystery to many Mac users, but it usually takes up the most space out of all of the categories. The “Other” category consists of files that don’t fit in any of the other categories, like documents, offline syncs with cloud services, system files, config files, .zip and .rar files, and messages and attachments from desktop email clients.
Easily clean up space on your hard drive
If you get the “startup disk full” message, don’t panic. It’s really easy to delete old files in order to make room on your hard drive. Your Mac needs at least several gigabytes of free space in order to operate normally, so here are a few things you can easily do to make room:
 Empty your Trash. You might be surprised by how many files are piling up in your Trash folder, simply because you never empty it. A simple delete key action can free up space on your hard drive just by clearing out the Trash folder.
Clean out the iMovie folder. When you create iMovie projects, the app takes your video files and stores them in the iMovie folder. This is located in the Movies folder in your user folder, and just by clearing out old iMovie projects and video files you no longer need, you can reclaim several gigabytes of space.
Delete apps and other files you no longer use. It’s always good to do an audit on your files and applications every now and then – not only to keep everything organized, but also to continually free up space on your hard drive. Go through your Applications folder and delete any apps that you no longer use. Be sure to also visit your user folder and delete any pictures, videos, and music you no longer want. If you have a lot of media files that you just don’t want to part ways with, get an external hard drive to put all these files on (here are some of our favorites). This will allow you to free up disk space while still being able to keep all those files handy.
Where it can get complicated
Okay, so the methods listed above are pretty straightforward and are really easy to do, but what if you’re getting that annoying message and you just aren’t sure where all of the big files are hiding? There are a few places you can look to get rid of these pesky files, most of which are probably a part of the mysterious “Other” category we mentioned earlier.
Time Machine local snapshots. If you’re using Time Machine on OS X Lion, your computer may be secretly storing Time Machine backups on your local hard drive when your external backup drive isn’t available. Finder doesn’t count these when you see how much space you have on your disk, but “About This Mac” will have them appear in the “Backups” category. You can delete local snapshots and even disable the feature in the Time Machine app itself.
 Cache files. Cache files are temporary files that prevent apps from re-downloading certain data, thus taking less time to load by just grabbing the cache files it created. The problem is, even after deleting an app that you no longer use (like you did above), the cache files can still linger. Downloading a free utility like OmniDiskSweeper will look over your entire hard drive and point to folders taking up the most space. When I did a sweep, the utility showed that I had almost 9GB of cache files lying around, most of which belonged to apps that I no longer had installed. OmniDiskSweeper also comes with a handy delete button to get rid of these files right from the utility.
Old iOS backups. Apple keeps old iOS backups on your computer, even if you no longer need them, but by navigating to Library > Application Support > MobileSync > Backup, you can delete them forever. You can also delete old backups right in iTunes preferences.
Mail archives and attachments. If you use a desktop mail client, whether it’s Apple’s default Mail app or Sparrow, these clients will save all emails to your computer, but you can clean up old messages and attachments by navigating to Library > Mail, if you use Apple’s Mail client, or Library > Application Support > Sparrow for email messages in Sparrow.
Final warning
Obviously, deleting files without thinking about what they go to or what they do can cause problems. Make sure that before you delete anything, you know for a fact that you won’t need it any longer. Furthermore, when deleting cache files and the sort, be sure you know what apps they go to and that you no longer have the app installed. Deleting files carelessly can lead to more problems than just that pesky “startup disk full” message. Accidentally deleted something you weren’t supposed to? Here’s how to recover deleted files.

0 comments:
Post a Comment